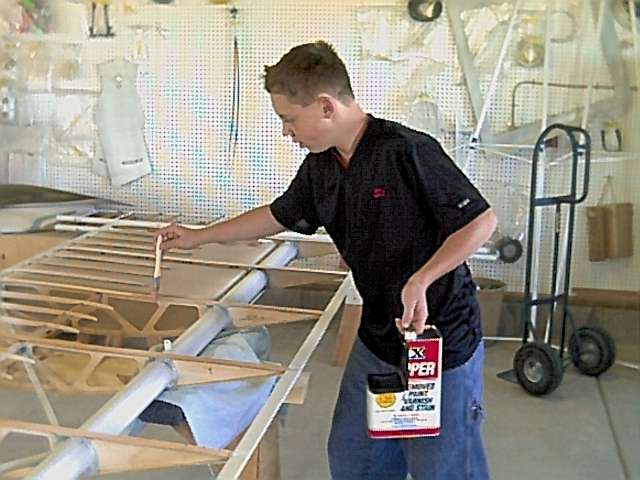
Two coats of Poly Brush were put on the rib capstrips to prepare them for the fabric. Prior to this work, all edges were smoothed with Super Fill and rivet heads that will fall under glued fabric were covered with anti-chafe tape.
Bottom Fabric
I followed a combination of the instructions proved by Skystar in their manual and Poly Fiber in their section concerning concave wings. I will be rib lacing the fabric on to the wings. I had to purchase some additional supplies not provided in the Skystar kit, but I want the added strength that the mechanical bond provided by rib lacing will afford.
I started the lower fabric installation by putting two coats of Poly Tac (glue) on the bottom capstrips. The fabric was layed on top. An additional application of Poly Tac thinned with MEK was painted through the fabric on to each capstrip. The fabric was glued to the leading edge, trailing edge, and outide ribs.
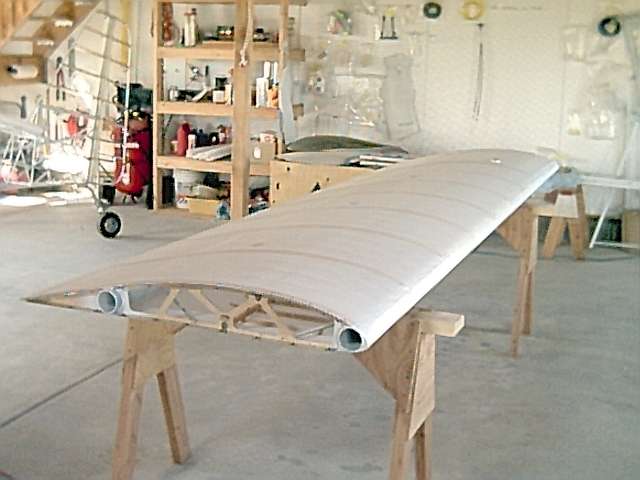
Right Wing Top Fabric
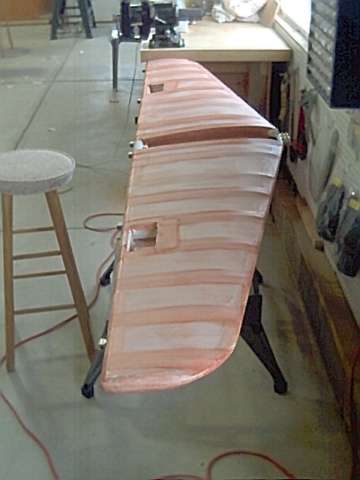
The fabric was installed on the top of the wing in the same manner as the bottom. I spent a lot of time with an iron at 225 degrees removing wrinkles and bubbles from the leading and trailing edges. The inboard and outboard edges were wrapped around the end rib capstrips and glued. The entire wing was then heat shrunk with an iron at 250 degrees. This has prepared the cloth for rib lacing. The lacing will be done prior to the final heat shrinking at 300 degrees in order to avoid pulling the fabric away from the ribs on the concave bottom wing surface.
The metal flanges which are used to attach the fiberglass wingtips was installed using flush rivets at the outer end of the wing.
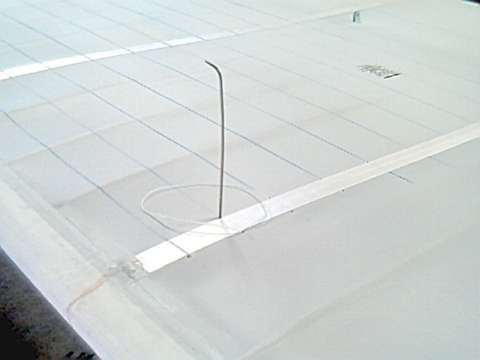
Rib lacing is an additional step that I chose to complete. The purpose of rib lacing is to mechanically hold the fabric to each rib using polyester cord. The cord is laced around each rib, through the wing, and a knot is tied at each loop. This process is not required by Skystar, hence the materials needed to do the lacing had to be separately purchased. Reinforcing tape was placed over the capstrip on each rib. A loop of cord was then installed every 2 1/2 inches along each rib. This process, including instructions on how to tie the knots, is well detailed in the Poly Fiber manual.
Polybrush
When the rib lacing was completed, the fabric was heat shrunk to its final tension. Then, the first coat of Polybrush was applied. This chemical is a pink colored liquid vinyl. It seals the fabric and provides a strong foundation upon which the other exterior coatings will be applied. Another strip of fabric (called the finishing tape) was bound to the fabric over each rib, false rib, trailing edge, and leading edge. Once everything was completed, two more coats of Polybrush were sprayed over each wing using a gravity feed HVLP paint gun.
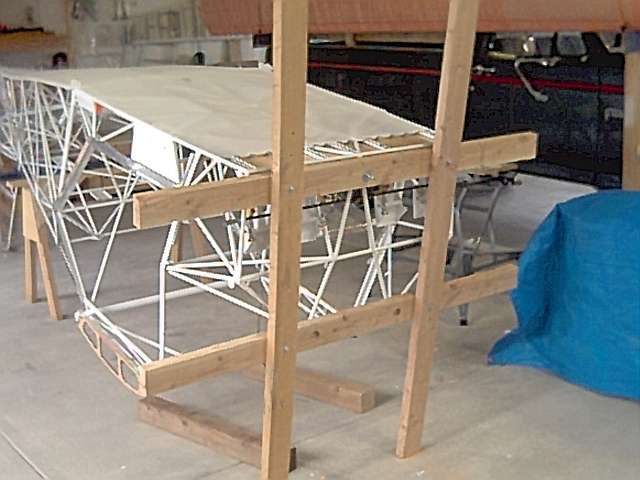
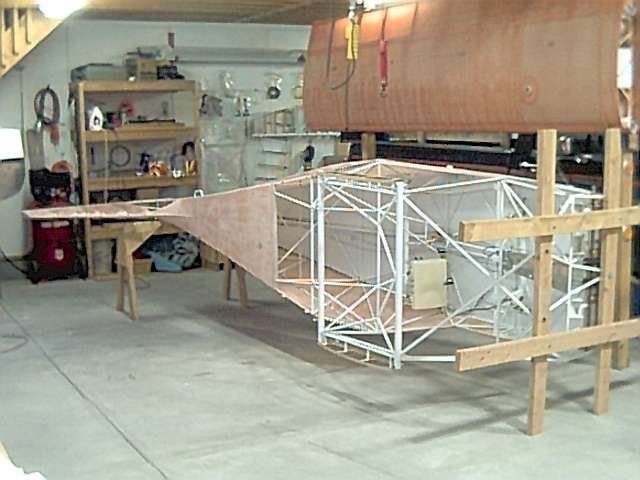
Once the wings were covered, they were hung out of the way so that the fuselage could get some attention. Before the fuselage could receive fabric, several items had to be done to prepare. This included:
The seats were removed and the header tank installed.
The firewall was fabricated so that attachment clips could be mounted on the fuselage belly tubing. This required removal of the floorboards and rudder pedal assemblies. The clips were fabricated and attached with epoxy. Then the rudder pedals were replaced.
A stand was built out of crossed 2 x 4 lumber and attached to the front of the fuselage using the engine mount holes.
The fuselage was inverted.
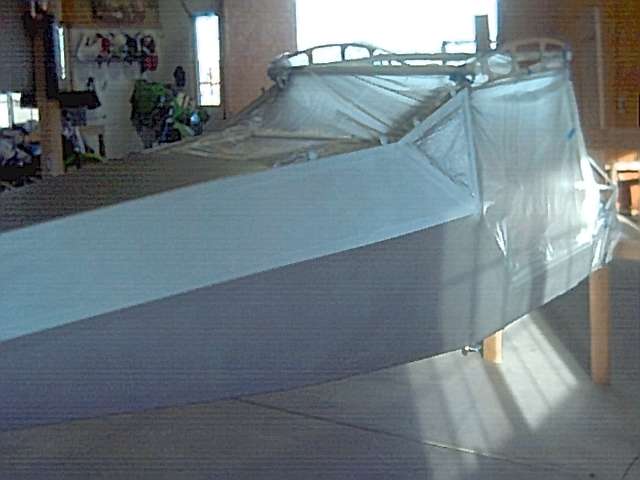
The fabric was attached to fuselage belly tubing with Polytac. After shrinking with the iron, it was as tight as a drum. The fuselage was rotated so that the right side could be done next.
Fuselage Covered
All fabric was applied to the fuselage and tightened. Many of the areas used scraps of fabric that had previously been trimmed while installing other areas. The area just in front on the vertical stabilizer was the most difficult. This dorsal fin had compound curves which required careful trimming and fitting.
Once all fabric was applied, the seams were heat sealed and the first coat of Polybrush was brushed into the surface.
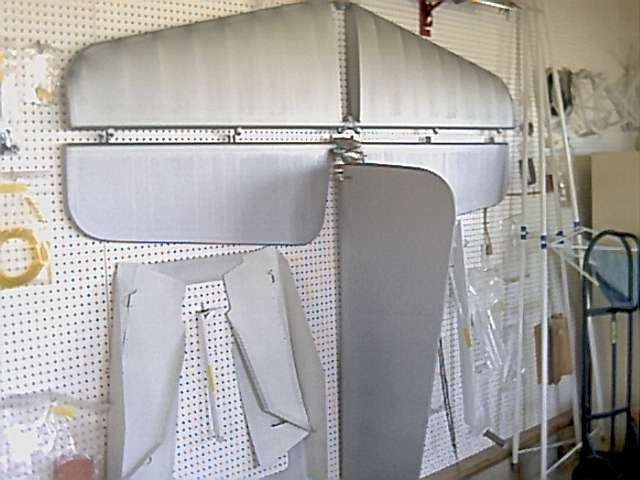
Flight Control Covering
The empanage structures were covered with fabric in the same manner as the wings and fuselage. A single piece of fabric was used for each side of the horizontal stabilizer. Scraps were used with the rudder and elavator - overlap joints at both the leading and trailing edge. I purchased a roll of bias tape to use at all the curved areas. I also had to purchase an extra roll of 2 inch tape and an extra gallon of polybrush to complete this phase of the work.
Once the finish tapes were installed, the fabric covered areas were given two more (sprayed) coats of Polybrush. Then, all areas received three cross coats of Polyspray. This silver coating contains powdered aluminum and its primary purpose is to block the sun's harmful UV rays from attacking the fabric.
The next step in these areas is to apply the base paint. I will be using Poly-Tone due to its ease of application and simplicity of repair.
 Builder's Log - Fabric Covering